Dot Mandala Art: Easy Designs on Paper, Canvas and Stones
12 designs Mandala art Updated 9 Oct 2026
Dot mandala art builds a round design out of paint dots instead of lines. Each ring is made from dots of one size, and the sizes change as you move out from the centre. It is slow, calm work and needs no drawing skill.
Here are 12 original designs on paper, canvas, MDF, stones, plates and clay diyas, plus gradient pieces. Each card lists the surface, the motifs and one tip to help the dots come out round.
If you prefer pens to paint, try easy mandala art first. For more colour ideas, see colourful mandala art.
Easy Dot Mandala Art on Paper and Card
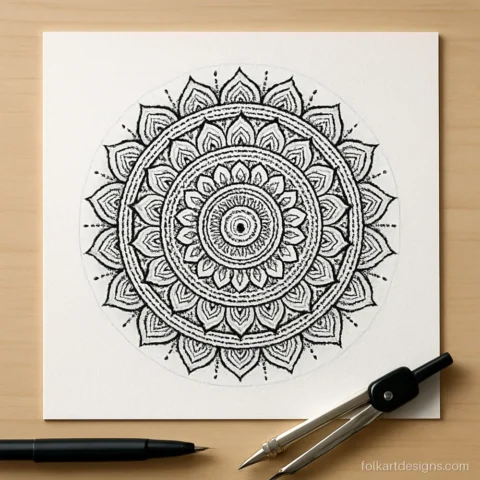
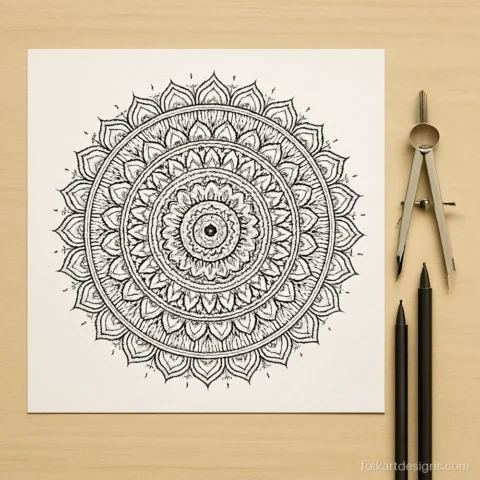
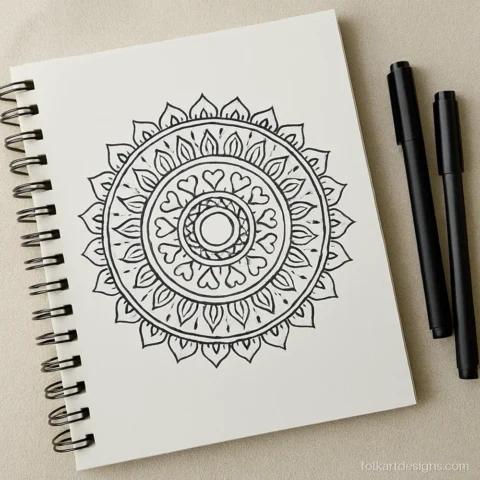
Paper is the cheapest place to learn. Use 300 gsm card or mixed media paper so the paint does not buckle. These simple dot mandala art pieces build mandala art dot by dot in plain rings.

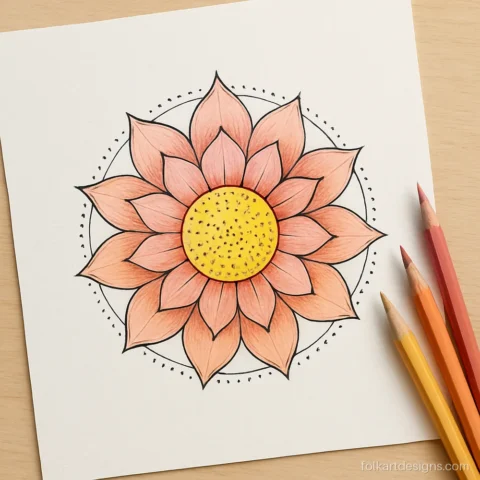
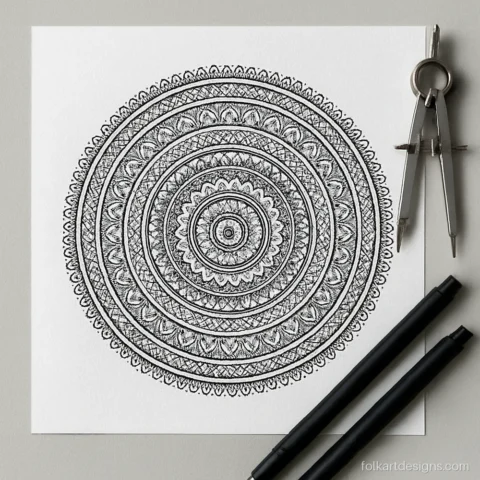
Five rings of white dots, each ring a size bigger than the last. Simple easy dot mandala art that teaches spacing.
Artist tip Dip once and make three or four dots before dipping again. Dots shrink naturally, which looks good.
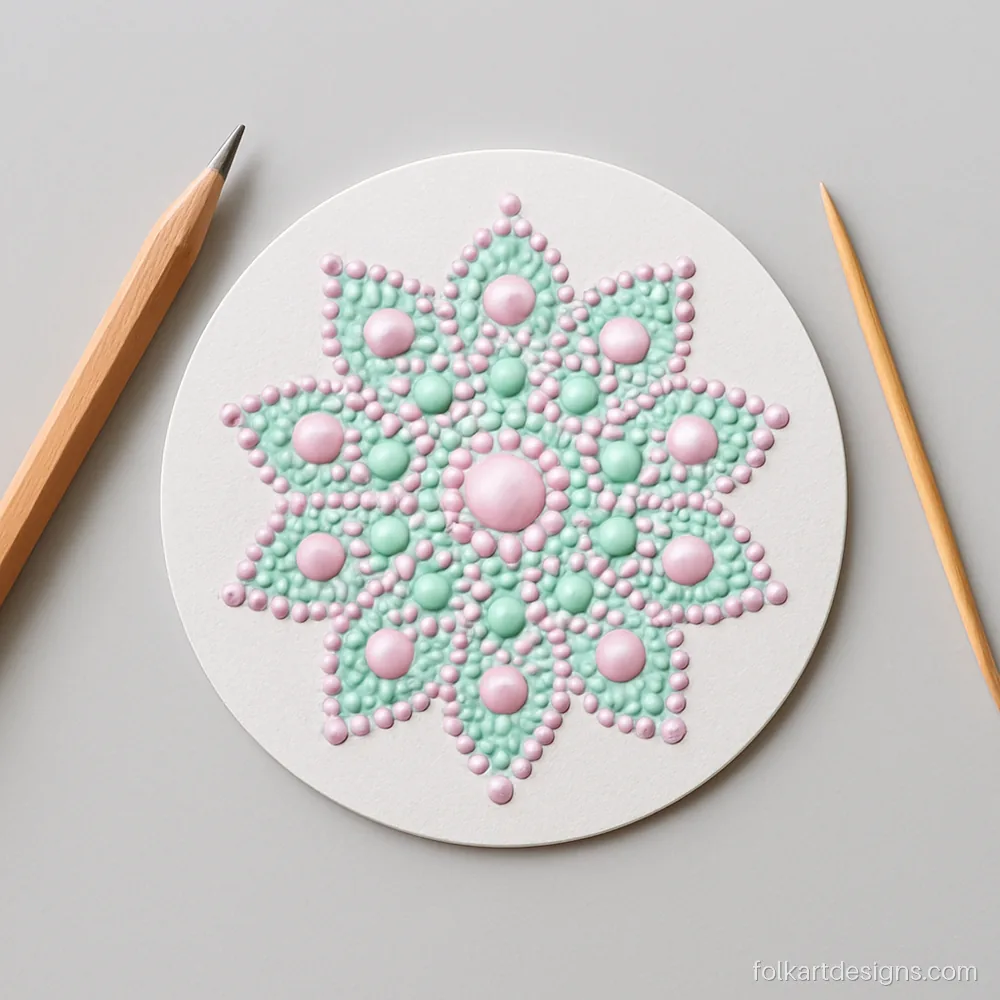
Only 8 cm wide, so it finishes in about 30 minutes. Small dot mandala art pieces make sweet tags and cards.
Artist tip Use the back end of a pencil for big dots and a toothpick for tiny ones.

Recycled cardboard primed with one coat of paint gives a rustic base. Earthy rust, mustard and cream feel warm and calm.
Artist tip Prime cardboard with one coat of acrylic first so it does not soak up the dots.
Dot Mandala Art Designs on Canvas and MDF
Canvas and MDF hold more paint and last longer, so they suit wall pieces. Many mandala dot art designs on canvas use a dark base so bright dots glow.
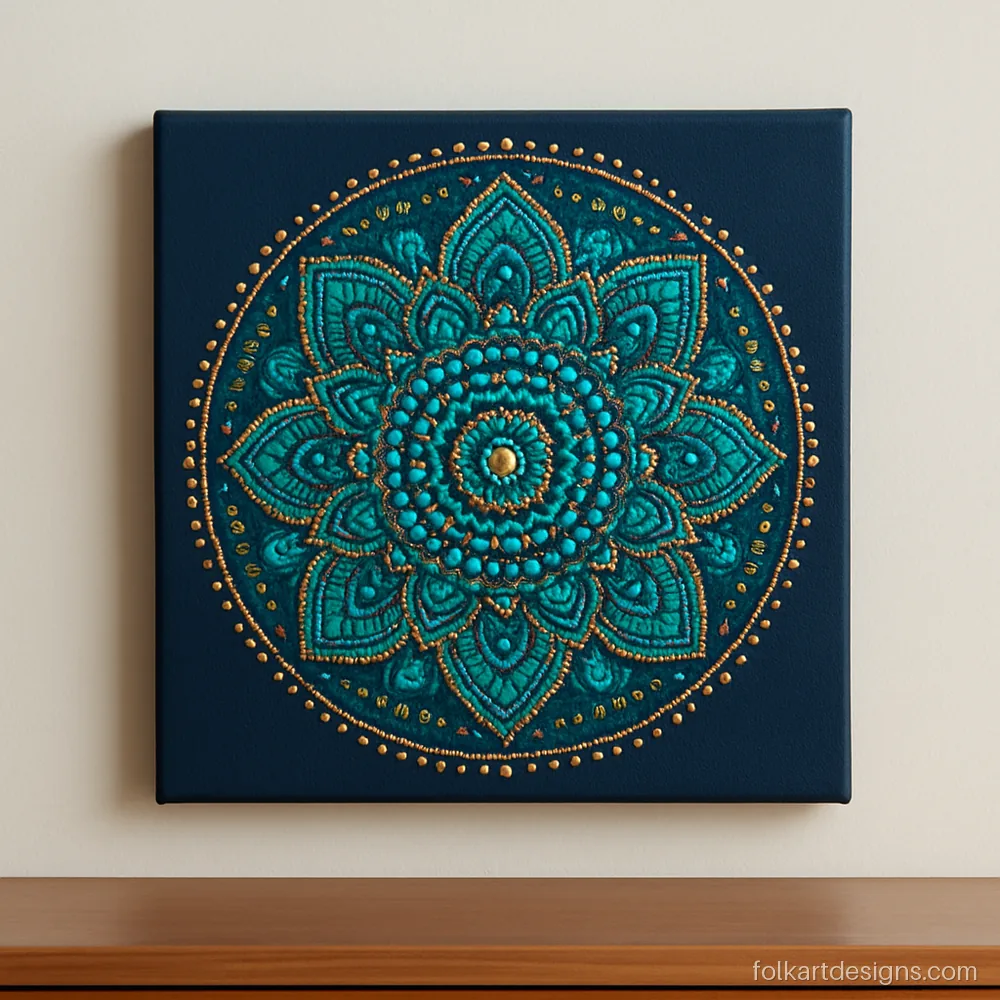
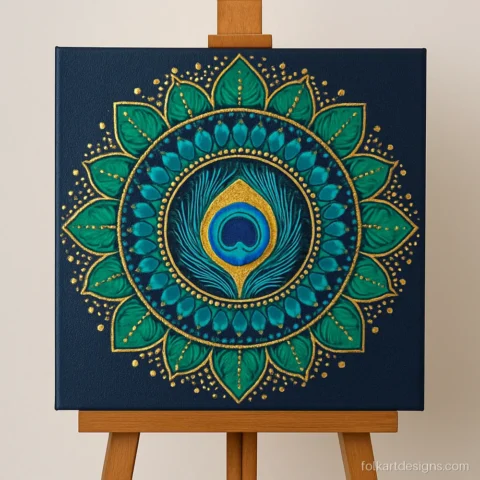
Teal and gold on navy look rich in a living room. A 30 cm canvas takes about four hours over two sittings.
Artist tip Let each ring dry 20 minutes before dotting next to it, or dots will merge.
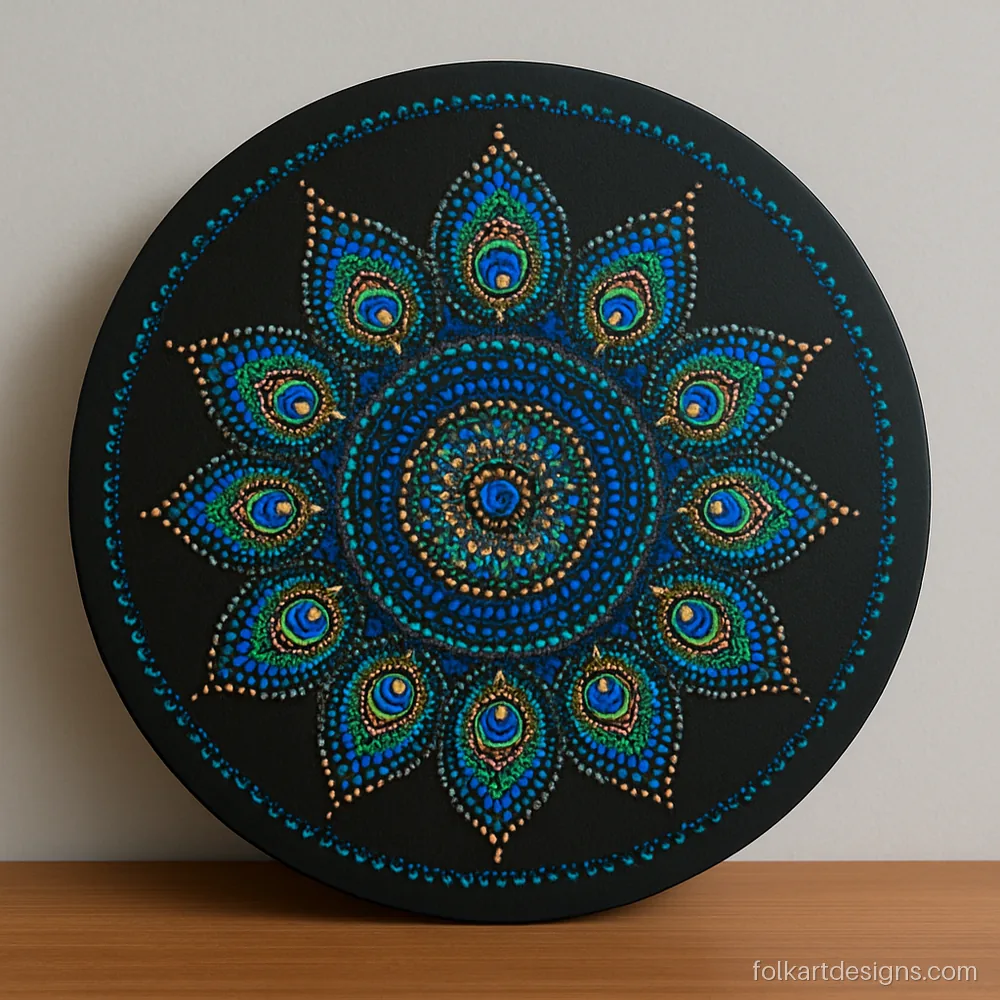
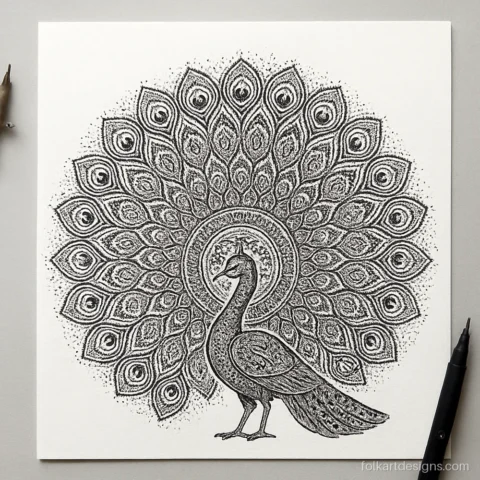
Peacock feather eyes ring the centre. Blue, green and copper dots make this unique dot mandala art feel festive.
Artist tip Dot the feather eye centre in dark blue first, then work outward in lighter shades.
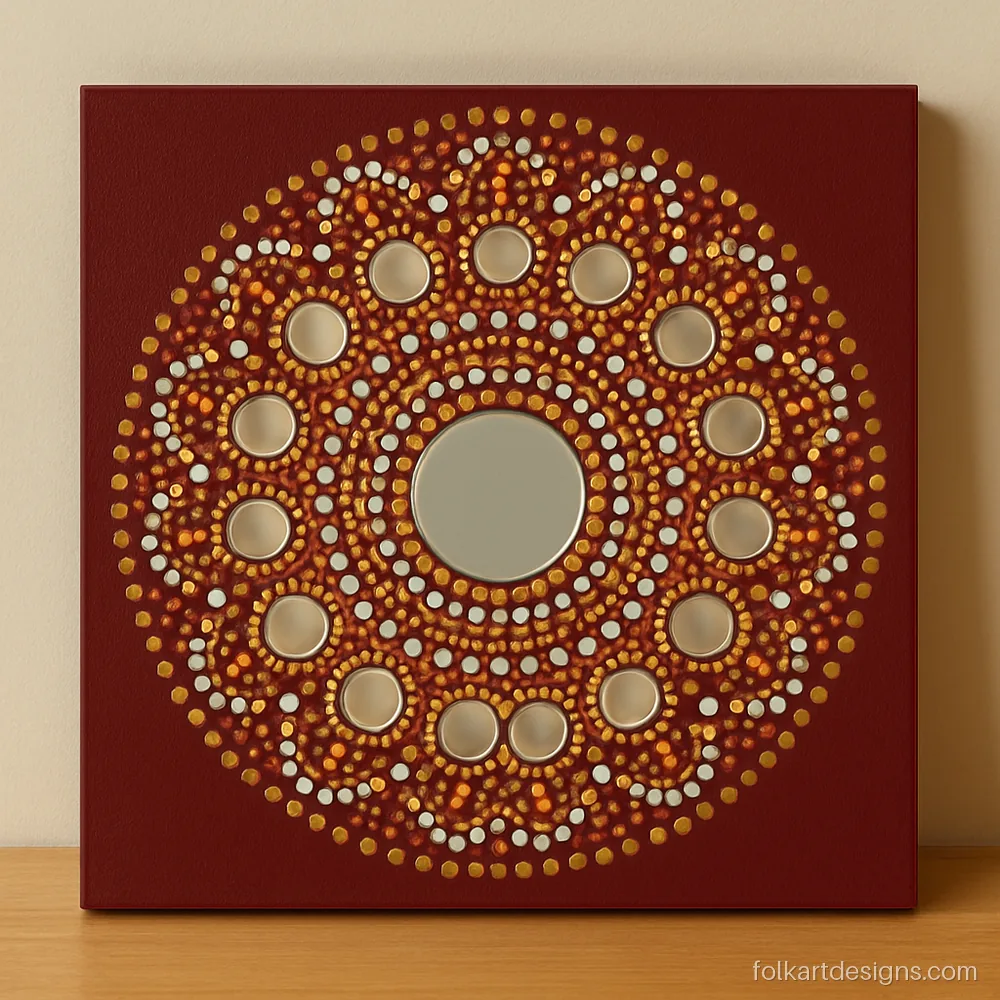
Small round mirrors sit in the centre and the first ring. Dot mandala art with mirror work borrows from lippan style.
Artist tip Fix mirrors with strong craft glue and wait an hour before dotting around them.
Dotting Tools and Paint Consistency
You do not need a costly kit. Most dots come from things already at home:
- Big dots: pencil eraser end, the back of a paintbrush, cotton bud.
- Medium dots: ball-tip dotting tools, a round chopstick.
- Tiny dots: toothpick, pin head, 0.5 mm dotting tool.
Paint: use acrylic. It should be like thick cream or yoghurt. Too thin and the dot spreads flat. Too thick and it leaves a peak. Add a few drops of water at a time and test on scrap paper. Shake bottles well, and keep a damp cloth to wipe tools between colours.
Dot Mandala on Stones, Plates, Diyas and Bottles
Everyday objects make lovely gifts. Clean and prime them first, and seal them once dry so the dots last.
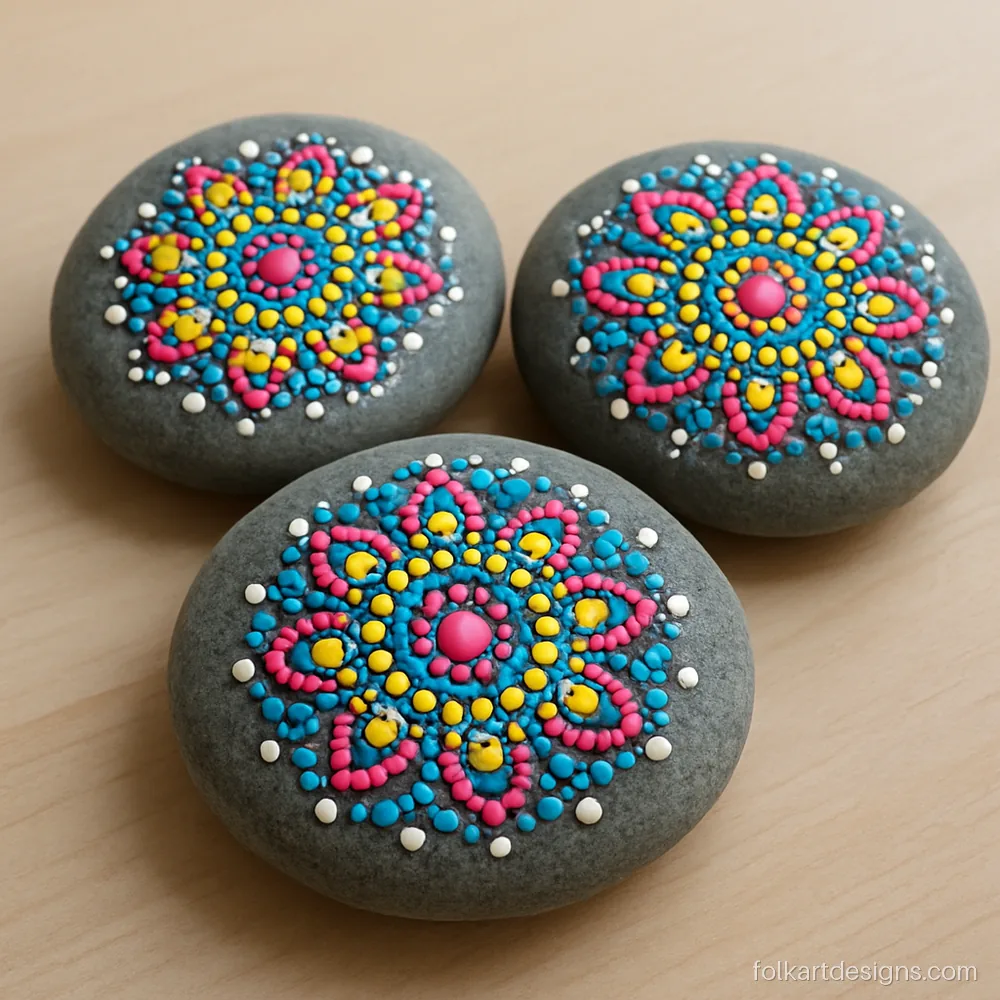
Three palm-sized stones, each with a different dot pattern. Paperweights, garden markers or return gifts.
Artist tip Wash and dry stones fully. Seal with spray varnish after 24 hours.
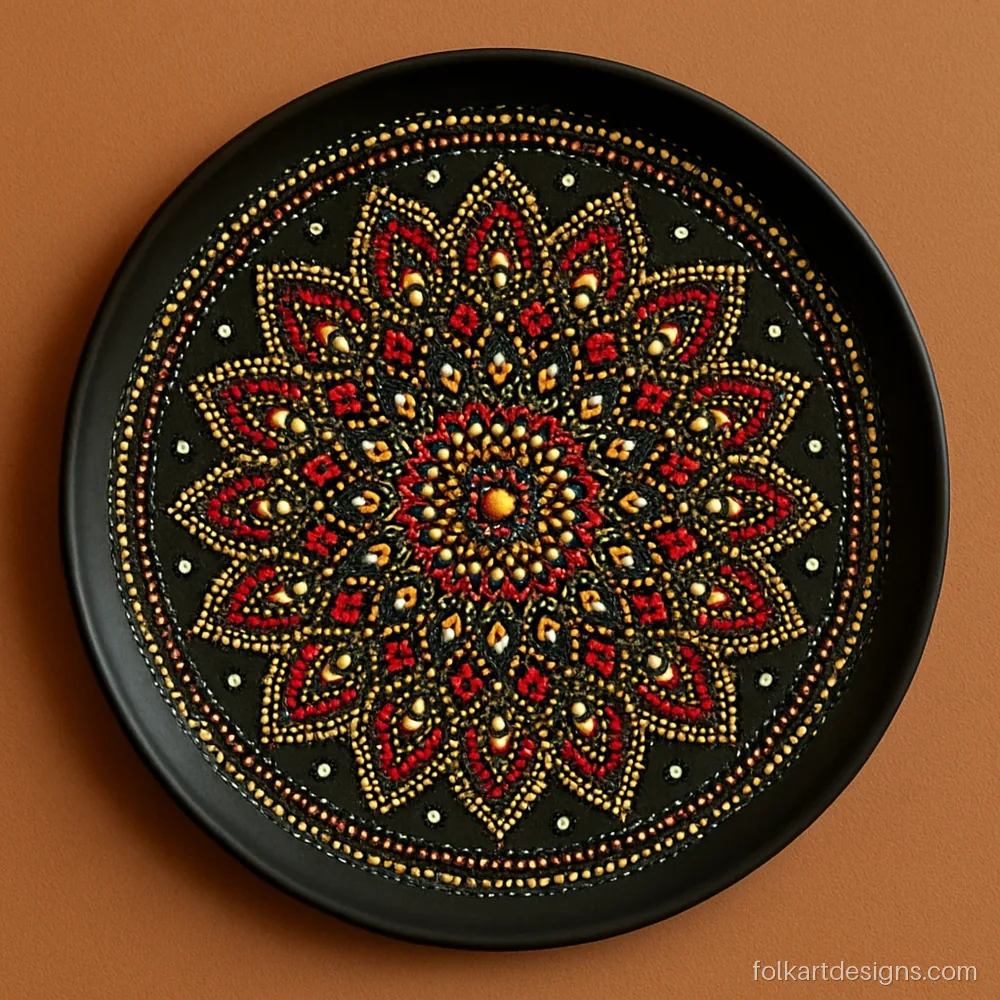
An old steel plate painted black becomes a wall hanging. Gold and red dots fill it edge to edge.
Artist tip Sand the plate lightly and use a primer so paint grips the metal.
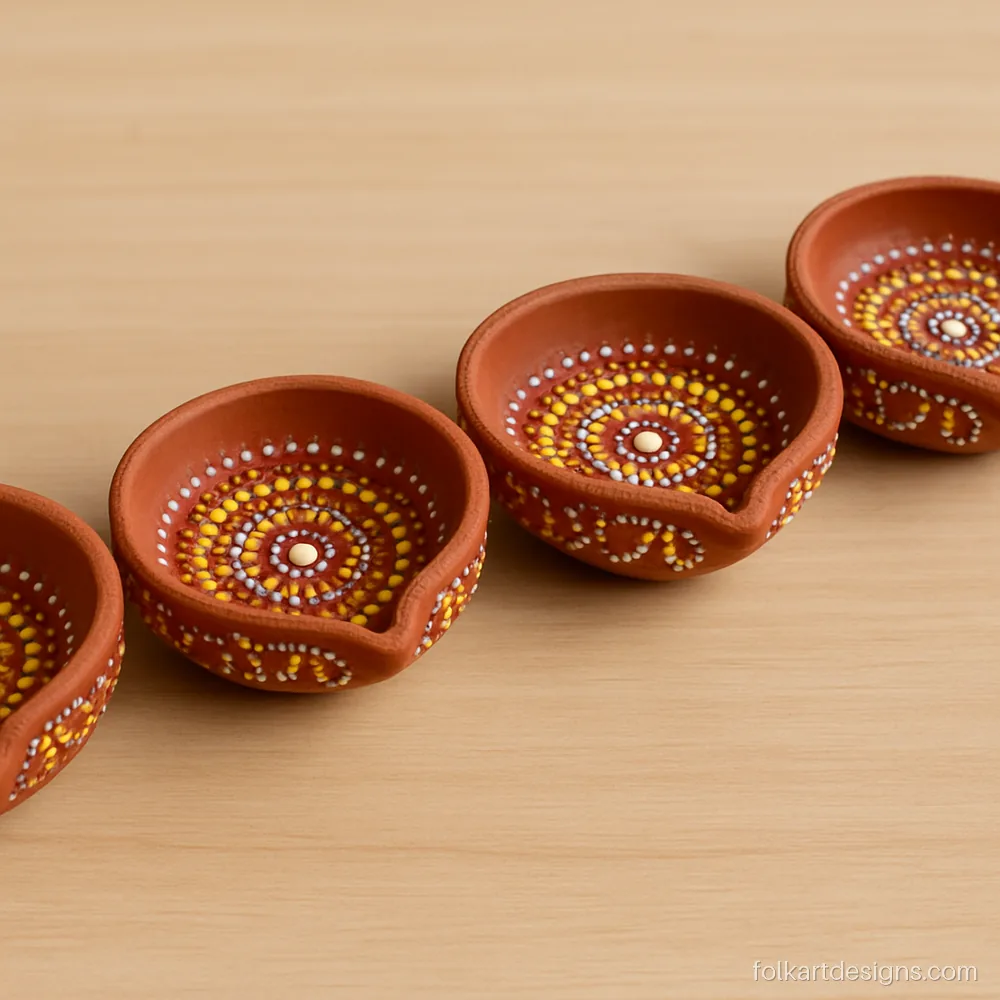
Small dot rings around each clay diya make a simple festive set. Keep the paint off the inner bowl.
Artist tip Paint only the outside of the diya. Heat near the wick can blister acrylic.
Colour Gradient Dotted Mandala Art
Gradients move from light to dark, ring by ring. Mix two colours in small steps on a palette so each ring is one shade deeper.
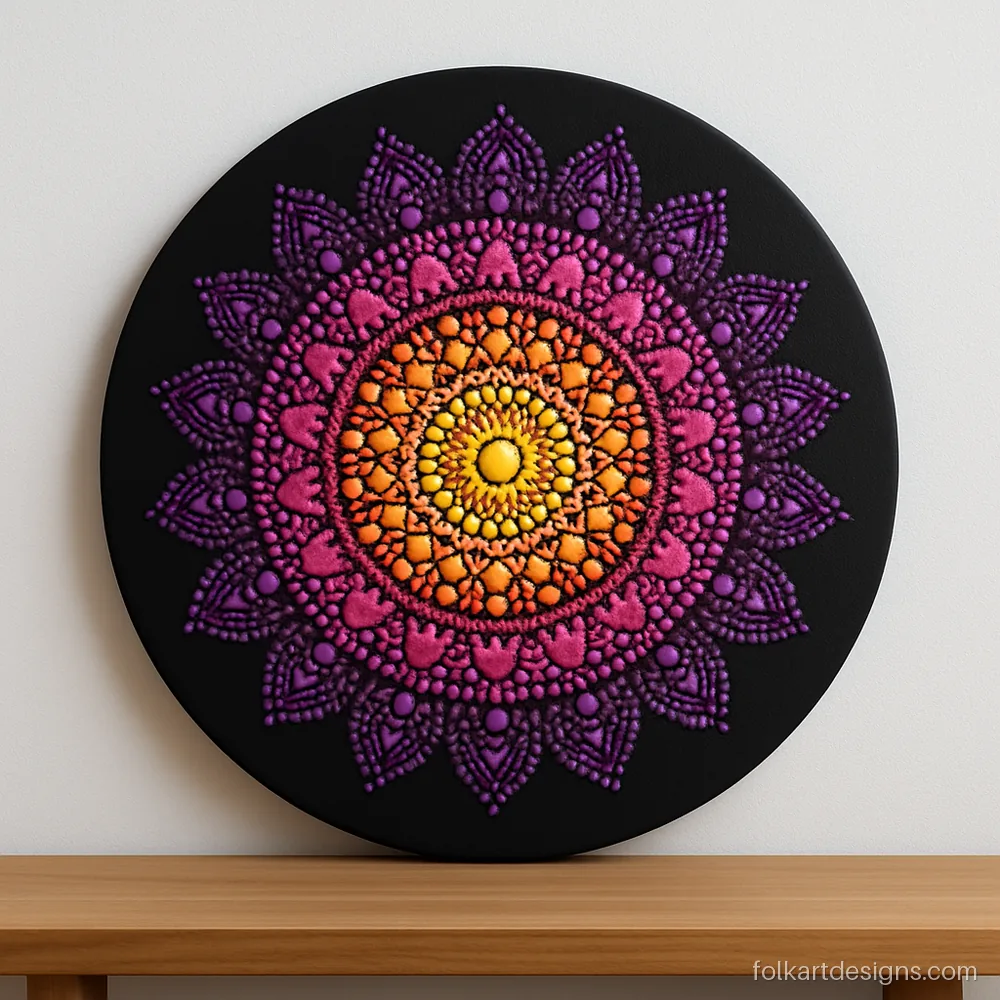
Yellow in the centre fades through orange and pink to purple at the edge. Seven rings, seven shades.
Artist tip Mix each new shade from the last one plus a little of the next colour.
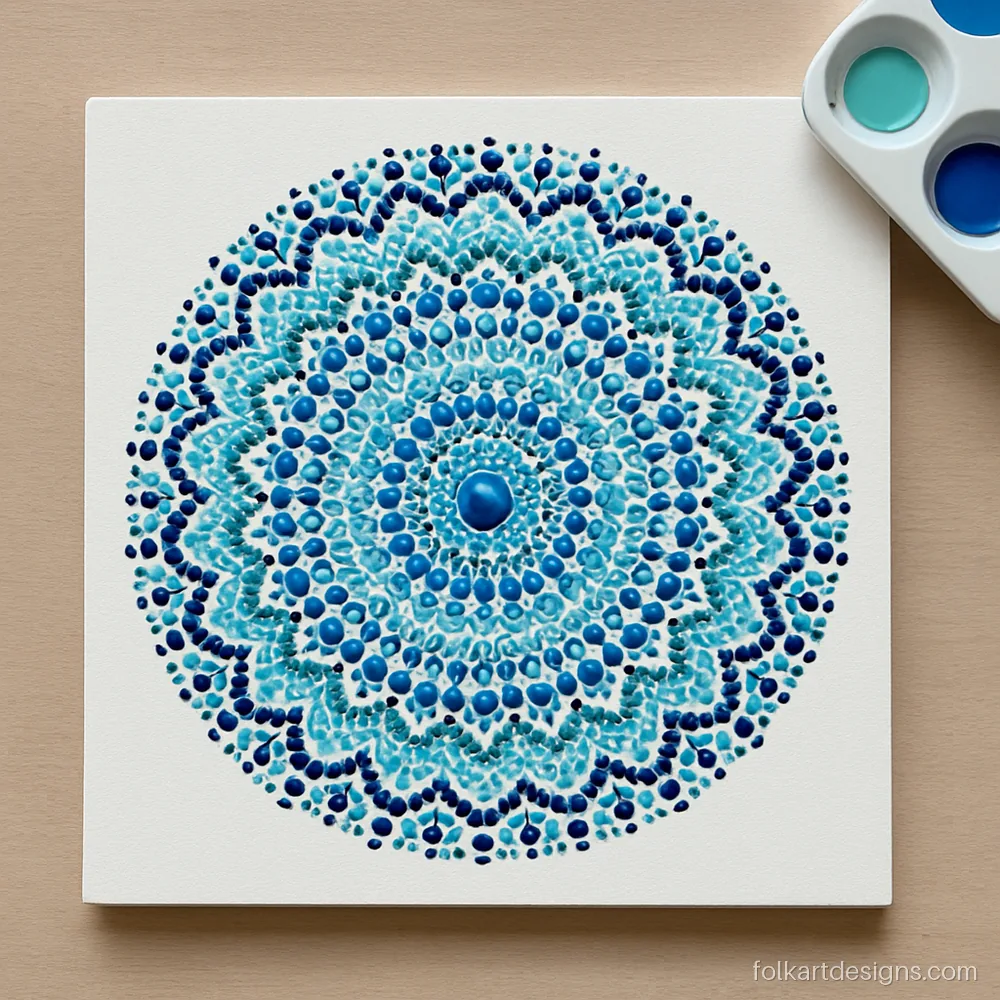
Pale aqua to deep navy on white feels cool and fresh. Good for a bathroom or study corner.
Artist tip On a white base, dot the darkest ring last so it does not smudge.
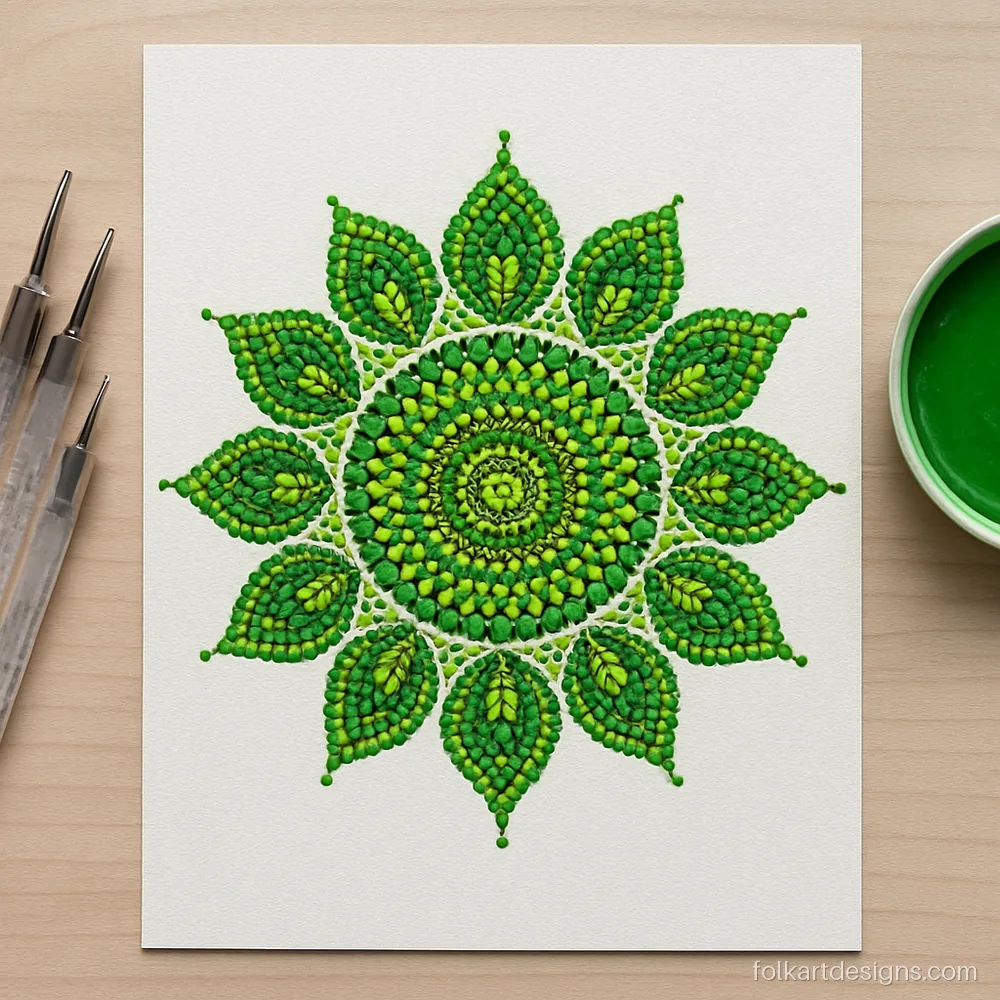
Lime to forest green dots shaped into leaf petals. Fresh and simple, and good for a first gradient try.
Artist tip Drag the last dot of each petal slightly to make a teardrop tail.
How to Make Dot Mandala Art Step by Step
- Paint the base and let it dry fully, about one hour for acrylic on canvas or MDF.
- Mark the centre and draw 8 or 12 guide lines with chalk or a white pencil.
- Place the centre dot with your largest tool.
- Add the first ring: one dot on each guide line, then fill evenly between.
- Work outward ring by ring, changing tool size and colour.
- Leave it 24 hours, then seal with matt or gloss varnish.
For a textured wall version with clay and mirrors, look at lippan art. Tools are listed in mandala art supplies.
Questions about these designs
What is dot mandala art?
It is a circular mandala built from paint dots instead of lines. Dots of one size form each ring, and the design grows from the centre out. Acrylic paint and simple dotting tools are all you need.
How do I make easy dot mandala art at home?
Paint a card or stone in a dark colour, mark the centre, and add rings of dots using a pencil end, a cotton bud and a toothpick. Keep paint thick like cream. Seal it after a day.
What paint is best for dotted mandala art?
Acrylic paint works on paper, canvas, MDF, stone, metal and clay. Use it slightly thick so dots stay round and raised. Fabric paint suits cloth bags and cushion covers.
Why are my dots not round?
The paint is either too thin or too thick, or the tool is tilted. Hold the tool straight up, touch the surface lightly and lift straight off. Test the paint on scrap first.
How long does dot mandala art take to dry?
Each ring is touch dry in about 20 minutes. A full piece needs 24 hours before you varnish or hang it. Thick dots take longer in humid weather.
Can I add mirrors to dot mandala art?
Yes. Fix small round mirrors with strong craft glue first, wait an hour, then dot around them. It gives a look close to Kutch mirror work.